How to Efficiently Assemble a Neon Lamp: The Ultimate Guide
Neon lamps are popular for their bright and attractive glow. Assembling a neon lamp from scratch may seem like a daunting task, but with the right tools and knowledge, it can be an efficient and rewarding process. In this ultimate guide, we will take you through the step-by-step process of how to efficiently assemble a neon lamp.
1. Gather the necessary tools and materials:
- Neon tubing
- Gases (argon and neon)
- Electrodes
- Transformer
- High voltage wiring
- Insulating tubing
- Power supply
- Glassworking tools (fire-resistant workbench, gas burner)
- Safety equipment (gloves, goggles)
2. Design your neon lamp:
Before assembling your neon lamp, it's essential to have a clear design idea. Sketch your design and decide on colors and shapes. This will help you plan the quantity and length of neon tubing required.
3. Prepare your work area:
Set up a fire-resistant workbench in a well-ventilated area. Ensure proper lighting and accessibility to your tools. Safety precautions like gloves and goggles should be used at all times during the assembly process.

4. Bend the neon tubing:
Heat the glass tubing using a gas burner, carefully bending it according to your design. Be cautious not to overheat the tubing as it may cause it to collapse. Use templates or specialized glassworking equipment for precision bends.
5. Connect the electrodes:
Attach the electrodes to the ends of the neon tubing. Ensure a secure connection while leaving enough space for gases to enter and exit.
6. Pumping the gases:
Connect the neon tubing to a vacuum pump. Evacuate the air from the tube using the pump, creating a vacuum. Once the vacuum is achieved, introduce argon gas to the tube until it reaches a suitable pressure. Repeat the process with neon gas, allowing for a bright and vibrant glow.
7. Sealing the tube:
Seal the tube ends with insulating tubing to prevent gas leakage. Cut the insulating tubing to size, ensuring a tight fit around the glass tube ends. Use heat to shrink the insulating tubing securely in place.
8. Connecting to the power supply:
Use high voltage wiring to connect the electrodes to the power supply. Ensure that the power supply is compatible with the transformer and capable of providing the required voltage for the neon lamp.
9. Test and troubleshoot:
After connecting the power supply, turn it on to test the neon lamp. Be cautious while handling high voltage. If the neon lamp does not light up or flickers, troubleshoot for loose connections, gas leaks, or damaged electrodes.
10. Mounting and displaying:
Once your neon lamp is functional, mount it securely to a surface or display it using suitable fixtures. Consider the weight and fragility of the lamp while selecting appropriate mounting options.
In conclusion, efficiently assembling a neon lamp requires careful planning, knowledge of the process, and a focus on safety. With the right tools and materials, one can successfully create a vibrant and visually appealing neon lamp. Remember to always prioritize safety and take necessary precautions while working with high voltage and glass. Enjoy the process and the mesmerizing glow of your newly assembled neon lamp!

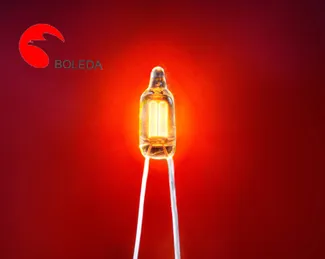
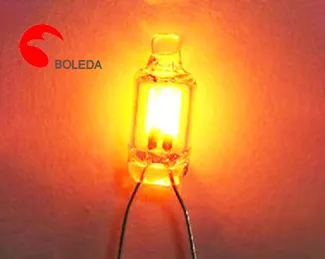
 NE-2 orange color
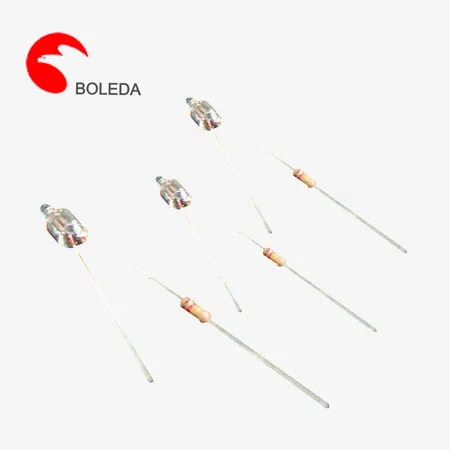
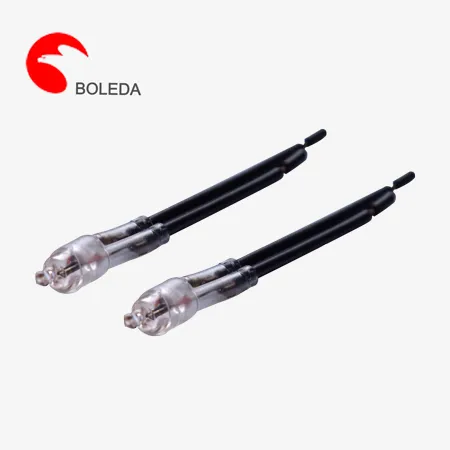 410 613 Neon lamp with resistor, cable and sleeve, resistor neon tubes
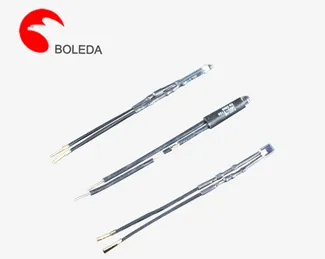
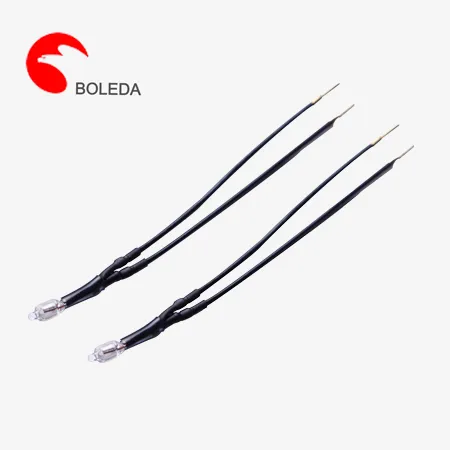 513 616 Neon lamp with resistor and cable and sleeve and ring terminal L terminal
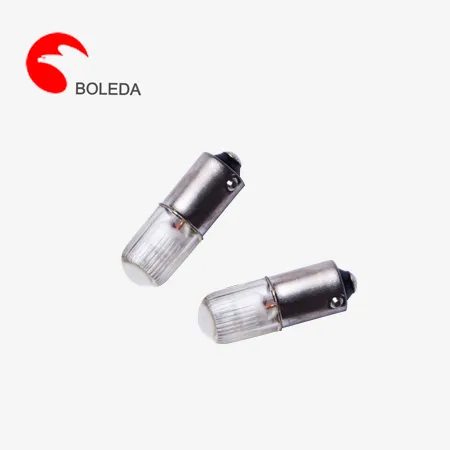 E10BA9S Plastic Shell Tin soldering, butt welded, crimped Neon Glow Lamps
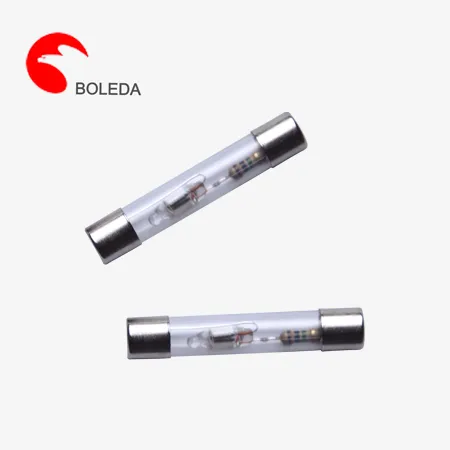 Fuse type Neon Lamp Tin soldering, butt welded, crimped with resistor for test pen
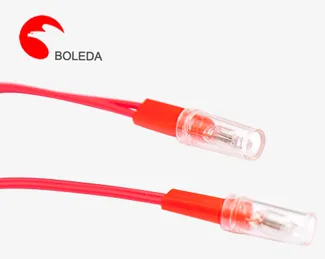 6 mm Neon indicator lamps, indicating lamps with resistor and PVC cableSilicone cable
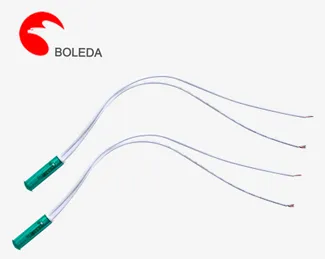 10 mm Neon indicator lamps, signal lights with PVC cable
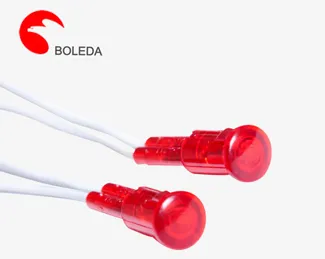 12 mm Neon indicator lamps red color with Crimped resistor PVC cable
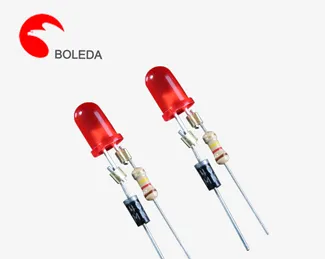 3mm5mm Led light, LED lamp with resistor and diode
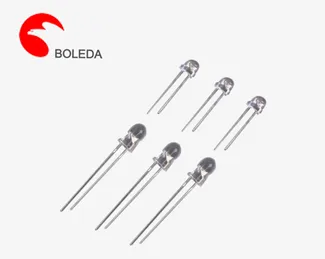 3 mm leds roundStrawflat shape, water cleardifussed
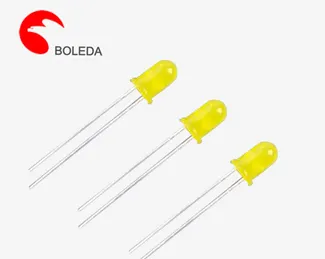 5 mm leds roundStraflat shape, water cleardifussed


Comment
(0)