Explore the Art of Neon lamp Assembly: Step-by-Step Walkthrough
The art of Neon lamp Assembly involves the intricate process of creating beautiful and eye-catching neon signs. From bending glass tubes to wiring the electrical components, each step requires precision and skill. In this step-by-step walkthrough, we will explore the various stages involved in the assembly of a neon lamp.
Step 1: Design and Planning
Before beginning the assembly process, it is essential to have a clear understanding of the design and layout of the neon sign. This includes selecting the desired shape, size, and color of the neon tubes. Detailed measurements and drawings are created to guide the assembly process.
Step 2: Glass Bending
The first step in assembling a neon lamp is bending the glass tubes into the desired shapes. These glass tubes are usually made of borosilicate glass, which can withstand the heat generated during the neon tube processing. Skilled glass benders use a variety of tools and techniques to heat and shape the glass tubes, such as using a ribbon burner, torches, and molds. The glass bending process requires precision and attention to detail to ensure the desired shape is achieved without any cracks or distortions.

Step 3: Electrodes and Bombardment
Once the glass tubes are bent, electrodes made of metal are sealed onto each end of the tube. These electrodes will be used to connect the neon lamp to the power source. Prior to sealing the electrodes, the tubes are cleaned and filled with a small amount of neon gas. The cleaning process ensures that no impurities are present inside the tube, which could affect the overall performance of the neon lamp. After the electrodes are sealed, the neon tube undergoes a bombardment process. This involves applying high voltage to the tube, which ionizes the gas and creates the characteristic neon glow.
Step 4: Wiring and Support Structures
After the glass tubes are bent, sealed, and bombarded, they are ready to be assembled and wired. This involves connecting the tubes together using insulated wires and transformers. The transformers are used to step-up the voltage from the power source to the required level for the neon lamp to function properly. The wires are carefully threaded through holes, known as electrode holes, located in the glass tubes to establish the electrical connection. Additionally, support structures, such as metal frames or acrylic backs, are installed to hold the neon tubes in place and ensure their stability.
Step 5: Gas Filling and Sealing
Once the neon tubes are wired and supported, the next step is to fill them with the desired noble gas mixture. Neon lamps can be filled with different gases, such as neon, argon, krypton, or xenon, depending on the desired color and brightness. The gas filling process is carried out using specialized equipment that carefully injects the gas mixture into the sealed neon tubes. After the tubes are filled, the remaining ends are sealed to prevent any gas leakage or contamination.
Step 6: Final Assembly and Testing
In the final stages of neon lamp assembly, all the components are carefully put together. The glass tubes are mounted onto the previously installed frames or backs, ensuring they are securely attached. The transformers and electrical wiring are connected to the power source. Once everything is in place, a final inspection and testing are conducted to ensure the neon lamp is functioning correctly and producing the intended glow. Any necessary adjustments or repairs are made before the finished neon lamp is packaged and ready for delivery or installation.
In conclusion, the art of neon lamp assembly involves a meticulous step-by-step process that encompasses glass bending, gas filling, wiring, and final assembly. Each stage requires skill, precision, and attention to detail to create stunning neon signs that captivate and illuminate their surroundings.

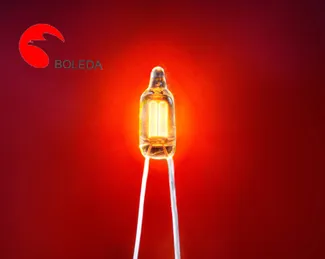
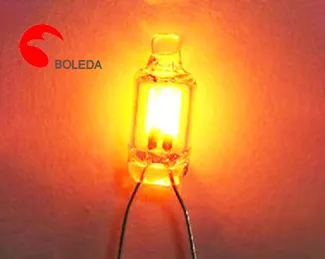
 NE-2 orange color
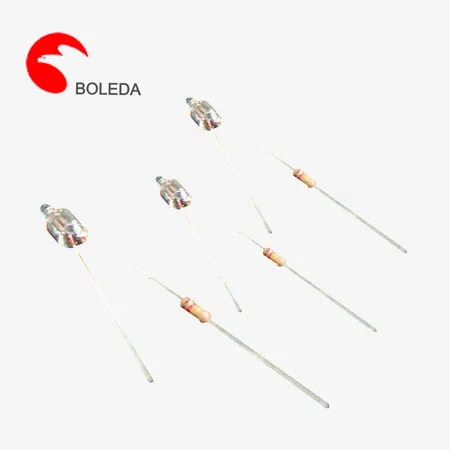
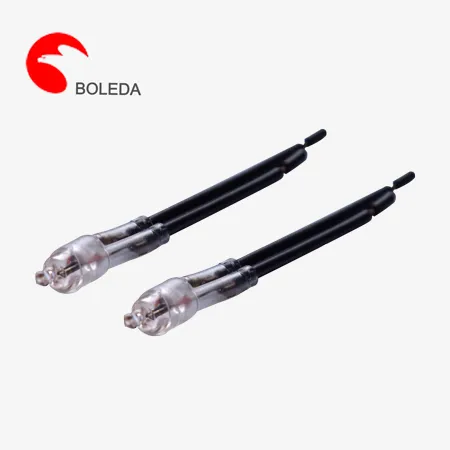 410 613 Neon lamp with resistor, cable and sleeve, resistor neon tubes
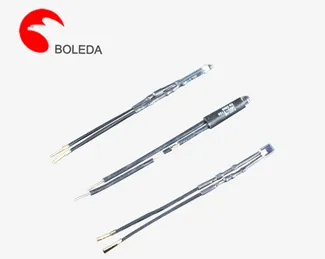
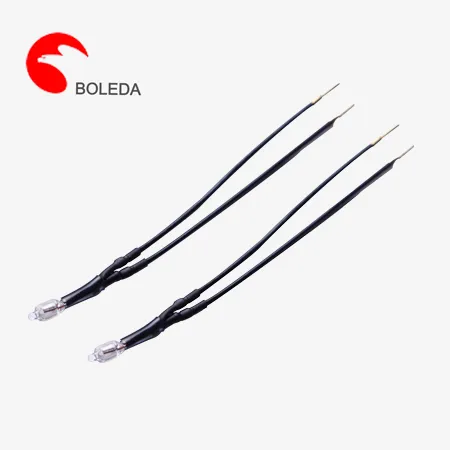 513 616 Neon lamp with resistor and cable and sleeve and ring terminal L terminal
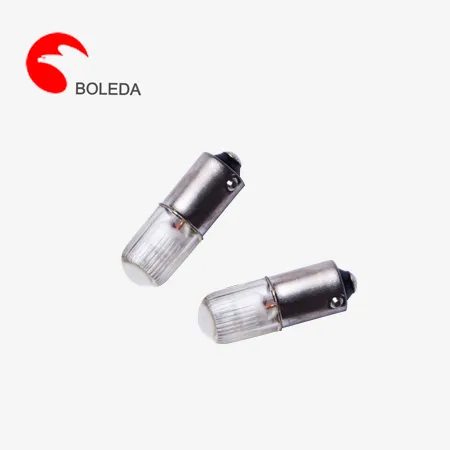 E10BA9S Plastic Shell Tin soldering, butt welded, crimped Neon Glow Lamps
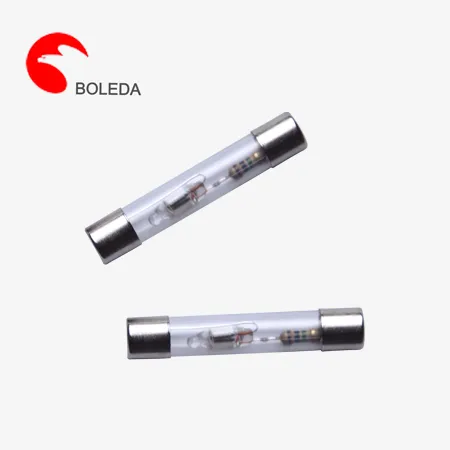 Fuse type Neon Lamp Tin soldering, butt welded, crimped with resistor for test pen
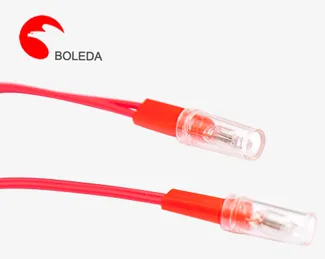 6 mm Neon indicator lamps, indicating lamps with resistor and PVC cableSilicone cable
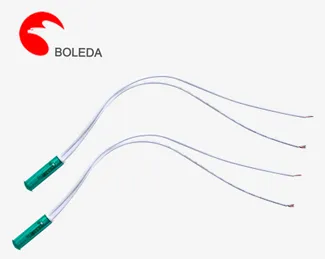 10 mm Neon indicator lamps, signal lights with PVC cable
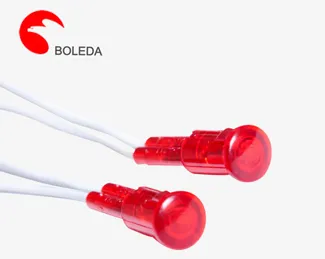 12 mm Neon indicator lamps red color with Crimped resistor PVC cable
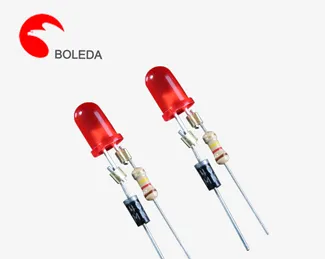 3mm5mm Led light, LED lamp with resistor and diode
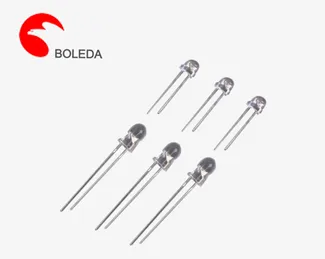 3 mm leds roundStrawflat shape, water cleardifussed
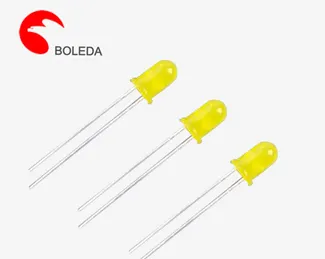 5 mm leds roundStraflat shape, water cleardifussed


Comment
(0)