Master the Art of Neon lamp Assembly: Insider Techniques Revealed
As neon lamps continue to gain popularity in the field of lighting, mastering the art of Neon lamp Assembly has never been more important. Neon lamps provide a unique and eye-catching way to illuminate signs, displays, and artwork. In this article, we will delve into insider techniques that will help you become an expert in neon lamp assembly.
1. Choose Quality Materials:
The success of your neon lamp assembly starts with the materials you choose. Opt for high-quality and reliable components to ensure a durable and long-lasting neon lamp. This includes selecting the right glass tubing, electrode housings, and transformers. Investing in quality materials may incur higher costs initially, but it will save you money and time in the long run.

2. Measure and Cut the Glass Tubing with Precision:
Accurate measurement and cutting of the glass tubing is crucial to the effectiveness of your neon lamp. Use a tubing cutter or a band saw designed specifically for neon glass to ensure clean and precise cuts. Measure twice and cut once to avoid wastage. Properly prepared tubing will ensure a smooth and seamless assembly process.
3. Prepare the Electrodes:
The electrodes play a critical role in the functioning of the neon lamp. It is essential to properly prepare the electrodes to achieve optimal performance. Clean the electrodes thoroughly using a wire brush to remove any dirt or oxidized coating. Apply a thin layer of electrode paint to promote good conductivity and prevent corrosion.
4. Attach Electrode Housings:
Securely attaching the electrode housings to the glass tubing is a crucial step in neon lamp assembly. Apply a suitable adhesive or silicone to the electrode housing before carefully attaching it to the ends of the glass tubing. Make sure the attachment is secure, as loose electrode housings can lead to decreased performance and potential safety hazards.
5. Handle and Bend the Glass Tubing with Care:
Neon glass tubing is delicate and can easily break, making it crucial to handle it with care during assembly. Wear protective gloves and use gentle pressure while holding and bending the glass tubing to prevent cracking or shattering. When bending the glass tubing, use a bending fixture or a heat source to soften the glass and achieve the desired shape without compromising its structural integrity.
6. Connect the Transformer:
Properly connecting the transformer is essential for safely powering your neon lamp. Ensure that the transformer is rated for the specific requirements of your neon lamp and follow the manufacturer's guidelines. Take necessary precautions while handling electrical connections to prevent shock hazards. It is advisable to seek professional assistance if you are unsure about electrical wiring procedures.
7. Thoroughly Test the Neon Lamp:
Before finalizing the assembly process, thoroughly test the neon lamp to ensure its functionality. Use a high-voltage neon lamp tester to check for any defects or malfunctions. Testing the lamp can help you identify and rectify any issues before installation or delivery to your customers.
By following these insider techniques, you can master the art of neon lamp assembly. Remember, practice makes perfect, so don't be discouraged if you encounter challenges along the way. With dedication, patience, and attention to detail, you will become an expert in creating stunning neon lamps that will captivate viewers and leave a lasting impression.

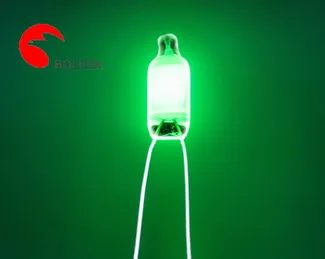
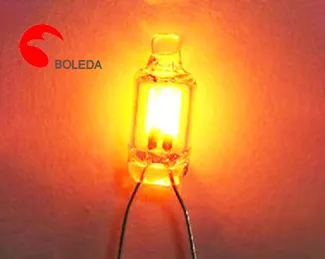
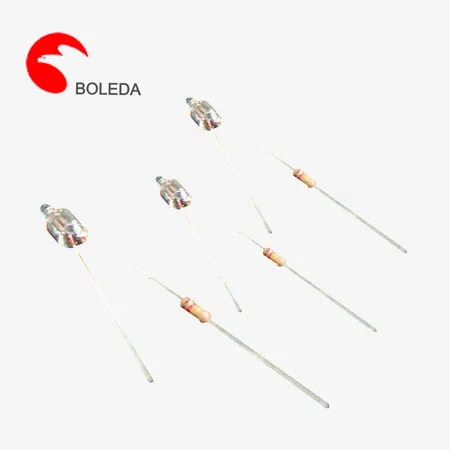
 NE-2 orange color
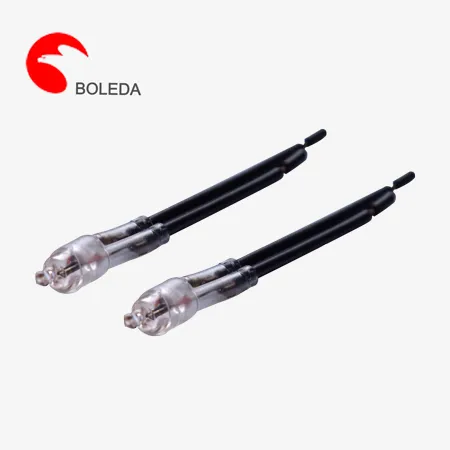 410 613 Neon lamp with resistor, cable and sleeve, resistor neon tubes
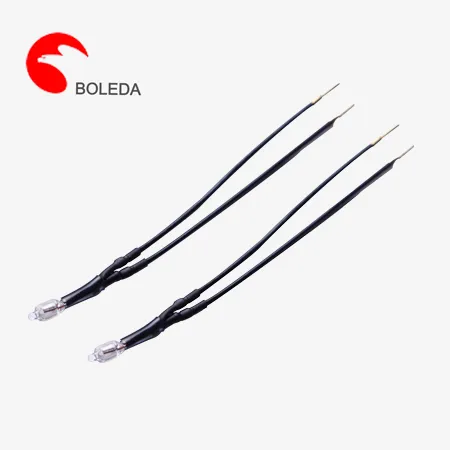 513 616 Neon lamp with resistor and cable and sleeve and ring terminal L terminal
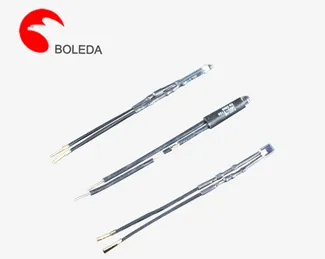
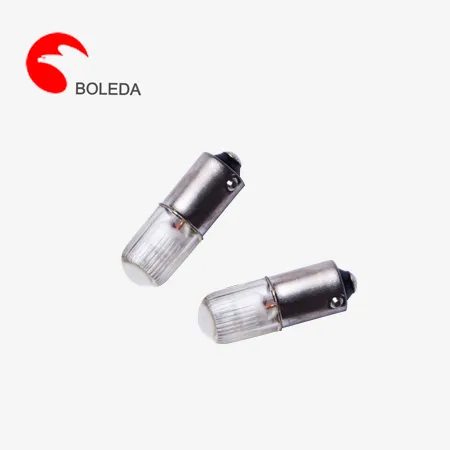 E10BA9S Plastic Shell Tin soldering, butt welded, crimped Neon Glow Lamps
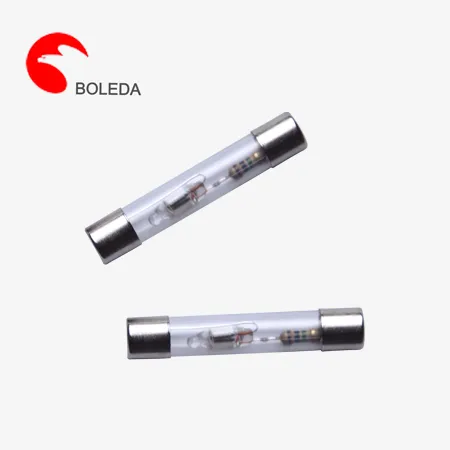 Fuse type Neon Lamp Tin soldering, butt welded, crimped with resistor for test pen
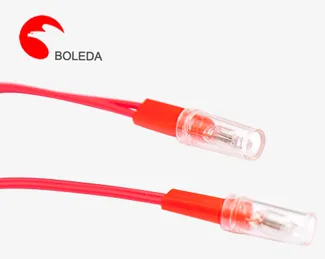 6 mm Neon indicator lamps, indicating lamps with resistor and PVC cableSilicone cable
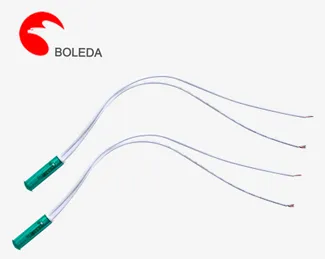 10 mm Neon indicator lamps, signal lights with PVC cable
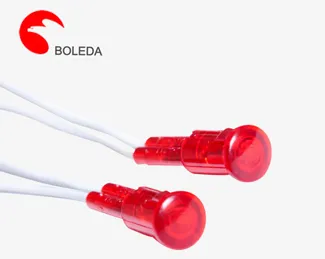 12 mm Neon indicator lamps red color with Crimped resistor PVC cable
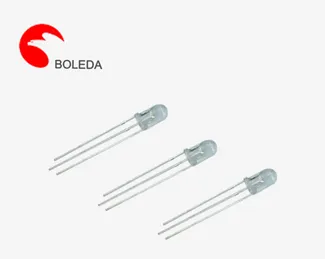
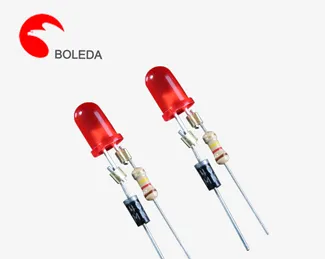 3mm5mm Led light, LED lamp with resistor and diode
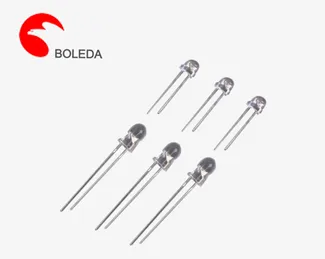 3 mm leds roundStrawflat shape, water cleardifussed
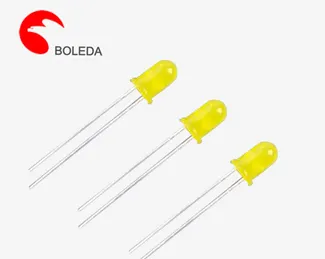 5 mm leds roundStraflat shape, water cleardifussed


Comment
(0)