Elevate Your Neon lamp Assembly Game: Pro Tips for Perfection
Neon lamps are a popular choice for lighting due to their bright and vibrant colors. In order to assemble a neon lamp properly, it is important to pay attention to details and follow certain pro tips to achieve perfection. This article aims to provide some helpful tips to elevate your Neon lamp Assembly game.
1. Gather the necessary tools:
Before starting the assembly process, ensure that you have all the essential tools readily available. This includes a neon sign transformer, glass tubing, neon electrodes, gas filling stations, gas burners, and argon or neon gas.
2. Plan the design:
Before starting the assembly, it is crucial to plan and visualize the design of the neon lamp. Sketch the design on a paper, making note of the desired shape, size, and color of the lamp. This will help you stay focused during the assembly process and avoid any mistakes.

3. Choose high-quality materials:
To achieve perfection in neon lamp assembly, it is essential to use high-quality materials. Select glass tubing that is durable, clear, and has a consistent diameter. High-quality electrodes are also crucial for proper functioning and longevity of the lamp.
4. Clean the glass tubing:
Before bending the tubing, make sure it is thoroughly cleaned to ensure proper adhesion of the electrodes and prevent any impurities from interfering with the neon gas. Use a cleaning solution specifically designed for glass tubing and carefully rinse it to remove any trace of the solution before proceeding.
5. Master the bending technique:
Bending the glass tubing is a skill that requires practice and precision. Use a tube bending machine or a heat source such as a gas burner to heat the tubing at the desired bending point carefully. Apply equal pressure and gently shape the tubing to avoid any kinks or cracks. Use a heat-resistant glove to protect your hands during this process.
6. Secure the electrodes:
It is essential to secure the electrodes firmly to the glass tubing to ensure proper electrical connection. Apply an electrode adhesive suitable for neon lamps to the electrodes and carefully position them on opposite ends of the tubing. Make sure they are aligned correctly to prevent any issues during gas filling.
7. Gas filling:
The next crucial step is filling the glass tubing with neon or argon gases. This step should be done with utmost caution and proper safety measures. Use a gas filling station and follow the instructions carefully. Overfilling or underfilling the gases can negatively impact the performance and lifespan of the neon lamp.
8. Seal the tubing:
To prevent gas leakage and maintain the integrity of the neon lamp, it is important to seal the tubing properly. Use a high-temperature glass sealant and carefully apply it to the ends of the tubing, ensuring a secure and airtight seal.
9. Test and troubleshoot:
After completing the assembly, it is necessary to test the neon lamp for functionality and any potential issues. Connect the neon sign transformer to the electrodes and check for any flickering, dimness, or non-illumination. Troubleshoot any problems that arise and make necessary adjustments before final installation.
10. Install professionally:
To truly elevate your neon lamp assembly game, consider professional installation. Hiring a professional to install the neon lamp ensures accurate placement, proper electrical connection, and a polished finish.
By following these pro tips, you can elevate your neon lamp assembly game and achieve perfection in your finished product. Remember to pay attention to details, use high-quality materials, and take necessary safety precautions to create a neon lamp that is not only visually stunning but also functional and long-lasting.

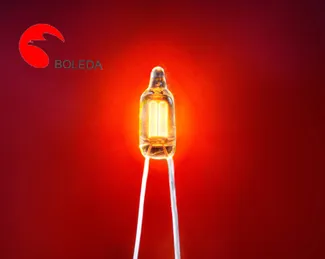
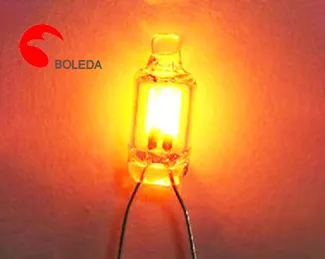
 NE-2 orange color
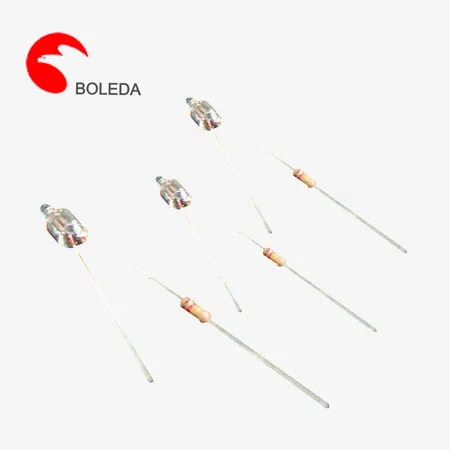
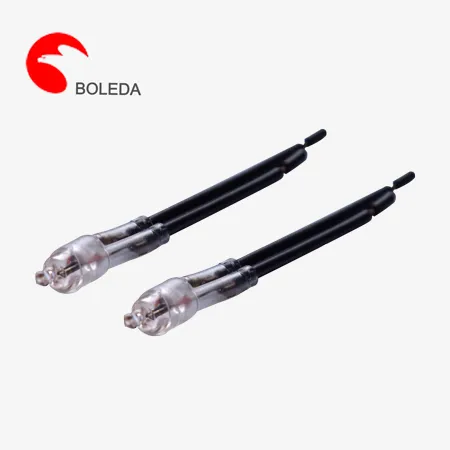 410 613 Neon lamp with resistor, cable and sleeve, resistor neon tubes
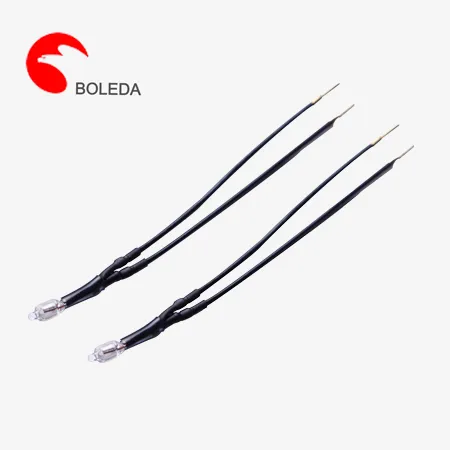 513 616 Neon lamp with resistor and cable and sleeve and ring terminal L terminal
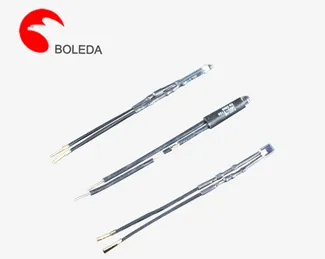
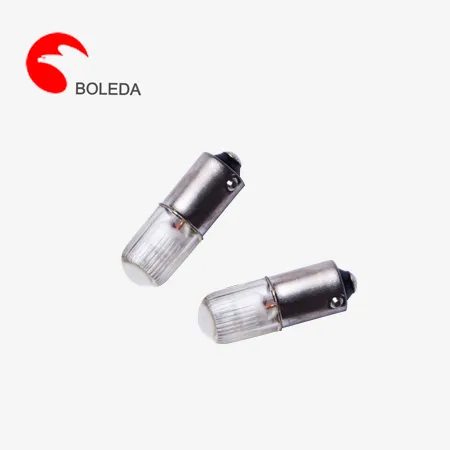 E10BA9S Plastic Shell Tin soldering, butt welded, crimped Neon Glow Lamps
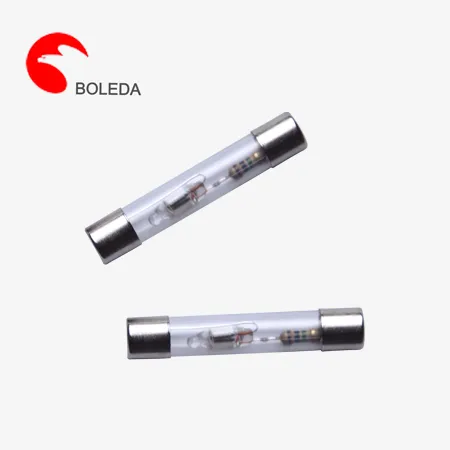 Fuse type Neon Lamp Tin soldering, butt welded, crimped with resistor for test pen
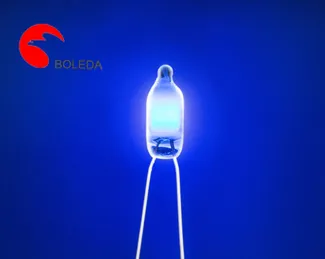
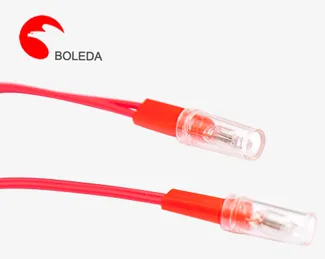 6 mm Neon indicator lamps, indicating lamps with resistor and PVC cableSilicone cable
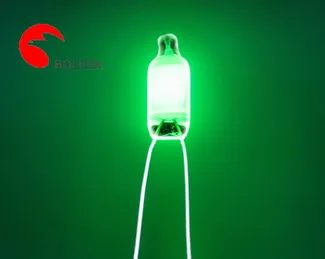
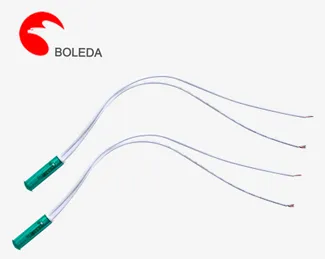 10 mm Neon indicator lamps, signal lights with PVC cable
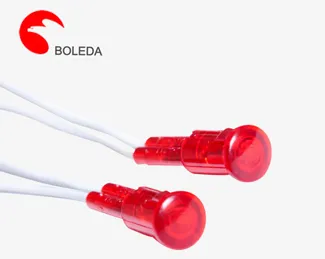 12 mm Neon indicator lamps red color with Crimped resistor PVC cable
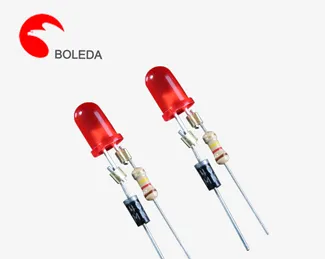 3mm5mm Led light, LED lamp with resistor and diode
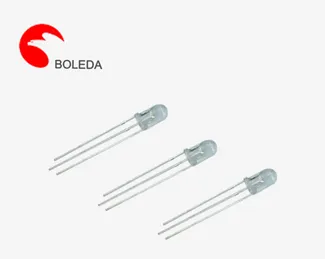
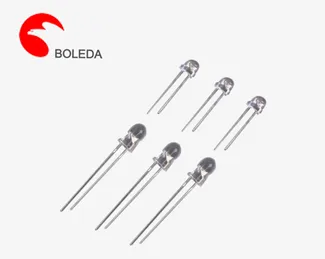 3 mm leds roundStrawflat shape, water cleardifussed
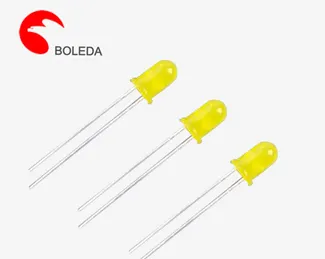 5 mm leds roundStraflat shape, water cleardifussed


Comment
(0)